

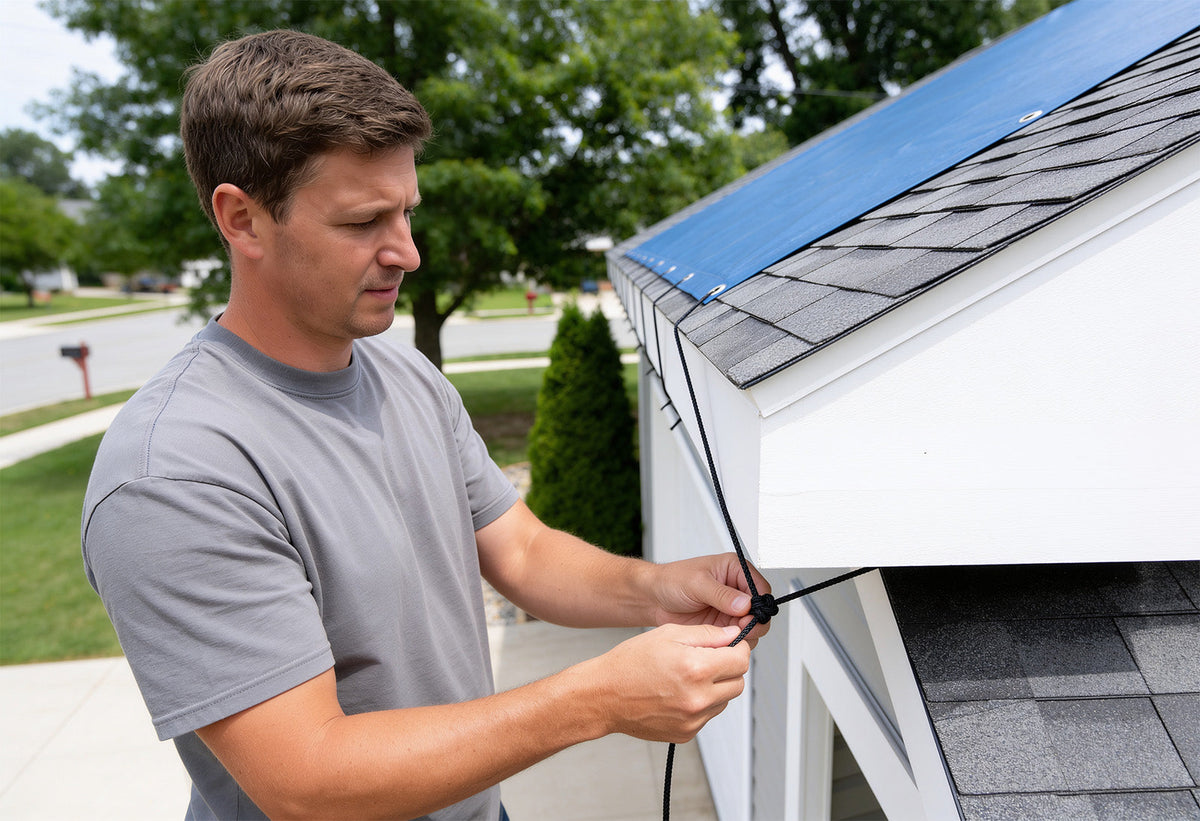
Every DPALEX roof tarp kit ships with two 100 foot lengths of 550 lb test paracord, the same cord used in parachute rigging. It's strong, it holds a knot, and it's the difference between a tarp that survives the storm and one that ends up in your neighbor's yard. Here's how to put it to work.
A quick note before we start: this guide is for our grommeted blue tarps, the Standard Roof Tarp Kit and the Heavy Duty Roof Tarp Kit. If you have our self-adhesive tarp or poly sheeting, those install differently and don't use paracord tie-downs.
Safety comes first
Roof work is dangerous, and it's more dangerous after a storm. Never get on a roof that's wet, icy, or structurally questionable. Use a ladder that's secured and footed, bring a helper, and keep well clear of power lines. If the pitch is steep or the damage is severe, call a professional. A tarp can wait a few hours. A fall can't be undone.
What you'll need
- Your DPALEX tarp kit (the tarp plus two 100 foot lengths of 550 lb paracord are in the box)
- Utility knife or scissors
- Work gloves
- A secured ladder and a helper
- Optional: 2x4 boards and screws for anchoring
Step 1: Position the tarp
Center the tarp over the damaged area and leave at least 3 to 4 feet of overhang past the damage on every side. If you can, run the top edge over the roof peak. Water can't sneak under an edge that goes over the ridge.
Step 2: Cut your tie-down lengths
Don't try to thread one continuous cord around the whole tarp. Cut the paracord into working lengths of 10 to 15 feet. Touch a lighter to each cut end for a couple of seconds so it doesn't fray.
Step 3: Thread the grommets
Both tarps have reinforced aluminum grommets spaced every 3 feet along the edges. Feed a cord through each grommet along the perimeter. In high wind, use every grommet. For short-term coverage in calm weather, every other grommet will do.
Step 4: Anchor to something solid
Tie off to anchors that won't move: screws or eye hooks driven into the fascia, batten boards, or ground anchors. Never tie to gutters, vents, or anything that can pull loose, because in a storm it will. For the strongest hold, wrap the tarp edge around a 2x4, screw the board to the roof decking, and use the paracord tie-downs on the remaining edges.
Step 5: Get it tight
Use a trucker's hitch to tension each line. It works like a small pulley and lets you pull the tarp tight without a lot of effort, and 550 paracord holds the knot well. This step matters more than any other. A loose tarp flaps, and flapping is what rips grommets out. Tight is what survives.
Step 6: Check it again tomorrow
Look over your tie-downs after the first night and after every wind or rain event. Paracord stretches a little when it's new and when it's wet. Thirty seconds of re-tensioning keeps everything snug.
Common questions
Why paracord instead of rope?
Weight for weight, 550 paracord is stronger than most hardware store rope, it holds knots better, and it doesn't turn stiff and useless after a few days in the weather. There's a reason it's the standard for parachute rigging.
How long can the tarp stay up?
Our tarps are UV-protected and built for extended coverage, but a roof tarp is temporary protection by definition. Plan on getting permanent repairs done as soon as you reasonably can, and re-check your tie-downs weekly in the meantime.
How much wind can this handle?
A properly tensioned tarp with every grommet tied off and 2x4 battens on the leading edges will ride out serious weather. No tarp is hurricane-proof, though. If another major storm is coming, add anchor points rather than hoping the existing ones hold.
Ready before the storm is
Both the Standard Roof Tarp Kit and the Heavy Duty Roof Tarp Kit come mission-ready: the tarp, 200 feet of 550 lb paracord, and reinforced grommets, all in one box. Need it fast? Call us at 888-288-8118 for urgent orders.
Introducing the DPALEX Flood Barrier: Modular Flood Protection Without Sandbags
California Flooding: What Every Property Owner Should Know